
In the realm of hunting and trophy preservation, a time-honored technique has both practical and artistic significance: the use of a pot for boiling deer skulls. Hunters, artists, and enthusiasts have employed this traditional method for generations, allowing them to transform deer skulls into stunning and long-lasting trophies or captivating works of art. In this article, we will delve into the world of pot boiling for deer skulls, exploring its importance, the tools needed, and the step-by-step process that brings out the natural beauty of these majestic creatures. Whether you’re a seasoned hunter, an aspiring artist, or simply curious about this unique craft, join us as we uncover the art and science of using a pot to boil deer skulls.
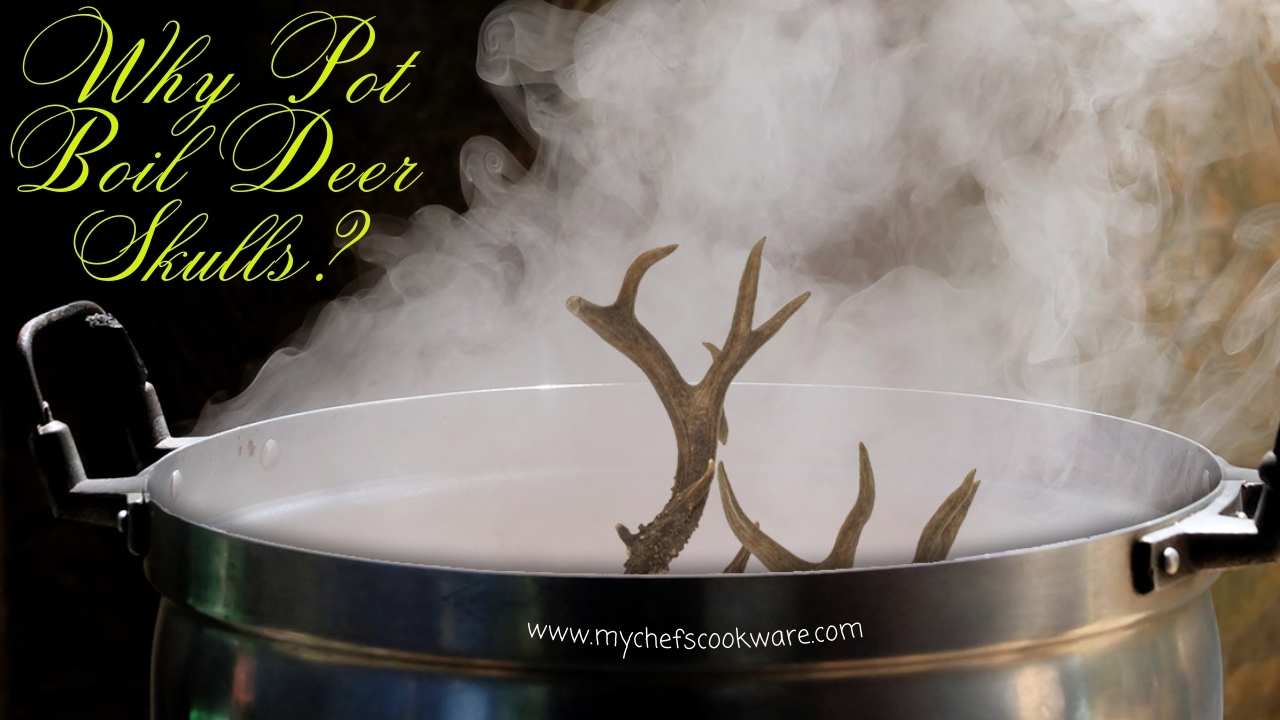
Why Pot Boil Deer Skulls?
The Aesthetic Appeal
Deer skulls possess a captivating natural beauty in their raw and unaltered state. These skeletal remnants tell a story of the wilderness, echoing the grace and power of the creatures they once belonged to. The intricate details of the antlers, the skull’s elegant curves, and the bone’s subtle textures all contribute to this inherent appeal.
However, it’s the process of pot boiling that truly elevates the aesthetic charm of deer skulls. These skeletal treasures undergo a remarkable transformation when subjected to this ancient preservation method. The boiling process not only cleanses the skulls of residual flesh, brain matter, and tissues but also whitens and brightens the bone, enhancing its visual allure.
Decorated deer skulls, the fruits of pot boiling and artistic expression, find their place in a myriad of settings. They serve as captivating home decor, adding a touch of rustic elegance to interiors. Artists have long been drawn to deer skulls as canvases for their creativity, turning them into unique art pieces that can grace galleries and exhibitions. For hunters, pot-boiled deer skulls become treasured hunting trophies, preserving the memory of a successful hunt and the grandeur of the animal itself.
Preservation Benefits
Beyond their aesthetic value, deer skulls hold immense significance for hunters, collectors, and enthusiasts. Pot boiling, as a preservation method, offers several notable benefits.
- Cleaning and Preservation: Pot boiling is an effective means of thoroughly cleaning deer skulls, removing any remaining flesh and tissues. This improves the visual appeal and plays a crucial role in preserving the skull for the long term.
- Comparative Advantages: When compared to alternative preservation techniques, such as burying or maceration, pot boiling stands out for its efficiency and speed. It significantly reduces the time required to prepare a deer skull for display or artistic endeavors.
- Proper Skull Preparation: An often overlooked but essential aspect of skull preservation is preparation. Before pot boiling, proper cleaning and degreasing are imperative to achieve the best results. This process ensures that the skull remains sturdy and free from undesirable odors, a key consideration for any decorative or display piece.
In the following sections, we will delve deeper into the process of pot boiling deer skulls, providing you with the knowledge and guidance needed to embark on this fascinating journey of preservation and creativity.
Read Also Something You Boil Before Eating: A Nutritional Guide
Preparing for the Process
Before delving into the intricate art of pot boiling deer skulls, it’s essential to gather all the necessary supplies and tools. Here’s a comprehensive list of what you’ll need:
Materials and Tools:
- Large Pot: Opt for a pot large enough to comfortably accommodate the deer skull you plan to work with. It should have enough space for the skull to be fully submerged during boiling.
- Propane Burner: This will provide the necessary heat for the boiling process. Ensure it’s in good working condition and has a stable base.
- Water: You’ll need a sufficient amount of water to cover the skull entirely during boiling.
- Cleaning Agents: Depending on the condition of the skull, you may need cleaning agents such as dish soap, hydrogen peroxide, or sodium carbonate (washing soda) to aid in cleaning and degreasing.
- Brushes: Stiff-bristle brushes, both large and small, will help in removing any remaining flesh and tissues.
- Dental Tools: Dental picks and brushes can be invaluable for detailing and cleaning hard-to-reach areas.
- Safety Gear: Safety should always be a priority. Acquire the following safety equipment:
- Gloves: Sturdy gloves will protect your hands from hot water, chemicals, and sharp bone edges.
- Goggles: Eye protection is crucial when working with potentially hazardous materials.
- Apron: An apron can shield your clothing from splashes and stains.
Tips for Finding Supplies:
- Local Hardware Stores: Your local hardware store is a good place to start for items like the large pot, propane burner, and safety gear.
- Online Retailers: Websites like Amazon or specialized hunting and crafting stores often offer a wide range of supplies and can be a convenient option for sourcing materials.
- Hunting and Taxidermy Shops: If you’re a hunter or interested in deer skull preservation, check with local hunting or taxidermy shops for specialized supplies and advice.
Safety Precautions
Safety is paramount when engaging in the pot boiling process for deer skulls. Here are some key safety precautions to keep in mind:
Safety Gear:
- Gloves: Always wear sturdy gloves to protect your hands from hot water and chemicals. Heat-resistant gloves are ideal.
- Goggles: Wear safety goggles to shield your eyes from splashes and potential chemical exposure.
- Apron: Consider wearing an apron to protect your clothing from any spills or splatters.
Handling Hot Water and Chemicals:
- Caution: Hot water can cause severe burns. Handle it with care, and avoid splashing.
- Chemicals: When using cleaning agents like hydrogen peroxide or sodium carbonate, follow the manufacturer’s instructions closely. Avoid contact with skin and eyes, and ensure proper ventilation to dissipate any fumes.
- Open-Air Environment: Whenever possible, conduct the boiling process in an open-air environment to prevent the buildup of fumes and to ensure proper ventilation.
By adhering to these safety guidelines and having the necessary safety gear on hand, you can create a secure and controlled environment for the pot boiling process, ensuring both your well-being and the successful preparation of the deer skull.
Pot Boiling Process
Removing Flesh, Brain Matter, and Tissues:
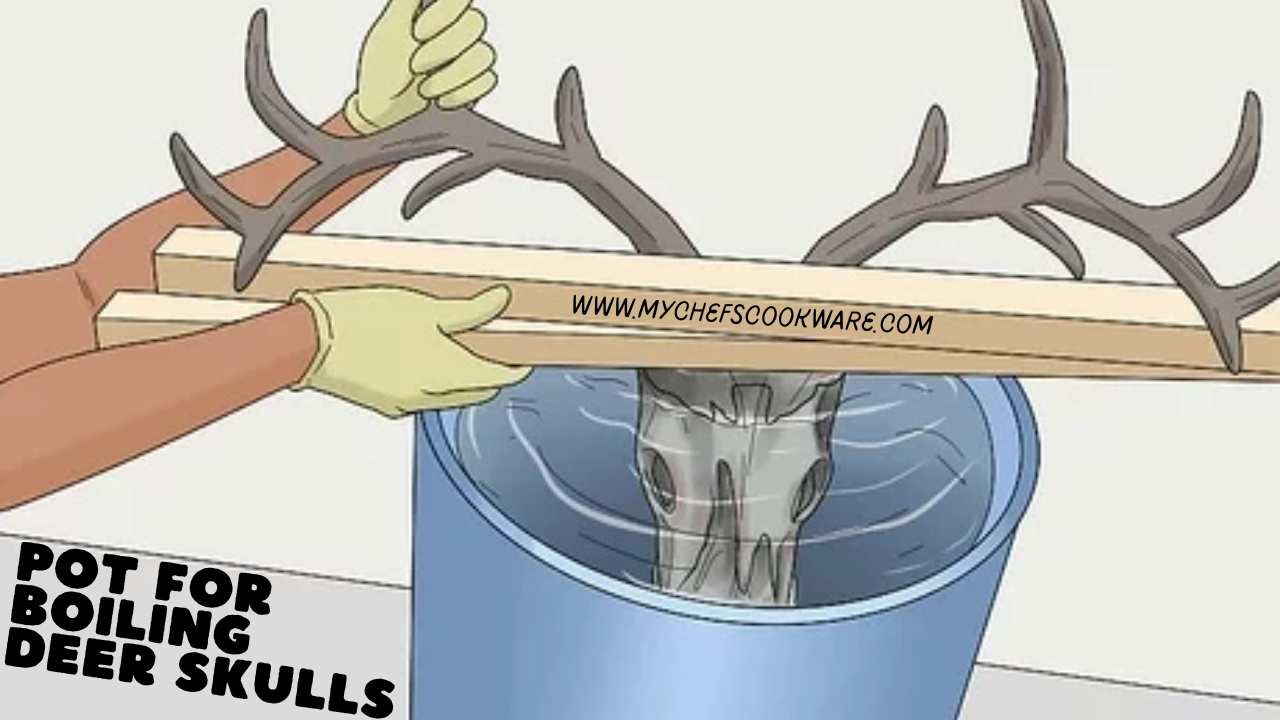
- Initial Cleaning: Begin by removing any large pieces of flesh, muscle, or tissue from the deer skull. A sharp knife or bone saw can be helpful for this task.
- Boil and Scrape: Place the skull in a pot of water and bring it to a gentle boil. This step helps soften the remaining tissues. Continue boiling for 30 minutes to an hour, periodically checking for loosening tissues.
- Scraping: After boiling, use a combination of brushes and dental tools to scrape away any remaining soft tissues, including the brain matter. Be patient and thorough, as this step significantly impacts the final result.
Degreasing and Whitening:
- Degreasing: To degrease the skull, submerge it in a mixture of water and a degreasing agent (commonly sodium carbonate or a similar product) for several hours overnight. This process helps remove any residual fats and oils.
- Whitening: For optimal whitening, soak the skull in a solution of hydrogen peroxide. You can use either a standard 3% solution or a stronger solution if necessary. Ensure the skull is fully submerged. The duration of whitening can vary but often ranges from 24 hours to several days.
- Sun Exposure: After the hydrogen peroxide treatment, place the skull in direct sunlight for a day or two. Sun exposure aids in the final whitening and helps eliminate any remaining odors.
Tips for Bone Preservation:
- Avoid overboiling: Extended boiling can damage the bone structure and weaken the skull. Keep boiling times within recommended limits.
- Gentle handling: Be gentle when scraping and cleaning to prevent bone damage or breakage.
- Patience: Take your time during the degreasing and whitening phases. Rushing can result in subpar results.
Pot Boiling Technique
Using a Large Pot and Propane Burner:
- Setup: Place your large pot on the propane burner and secure it in a stable position. Ensure the burner is safely connected to a propane source.
- Fill with Water: Fill the pot with enough water to fully submerge the deer skull. The water level should comfortably cover the skull without overflowing when it’s added.
- Heat Control: Gradually heat the water using the propane burner. Avoid sudden temperature changes, which can cause bone cracking. Aim for a gentle simmer rather than a rolling boil.
Water-to-Skull Ratio and Submersion:
- Water-to-Skull Ratio: Ideally, the pot should have enough water to fully submerge the skull with at least an inch of water above it. This ensures even heating and thorough cleaning.
- Submerging the Skull: Carefully place the prepared deer skull into the simmering water, ensuring it’s fully submerged. Use a large pot to accommodate the skull comfortably.
- Periodic Monitoring: Throughout the boiling process, keep an eye on the water level. Add additional hot water if needed to maintain submersion.
Duration and Temperature Settings:
- Boiling Duration: The length of time for boiling varies but often ranges from 1 to 3 hours. A longer duration may be necessary for larger or more heavily soiled skulls. The goal is to cook and loosen the remaining tissues.
- Temperature: Maintain the water at a gentle simmer, avoiding a rolling boil. Simmering at around 160-180°F (71-82°C) is usually sufficient for the cleaning process.
Cleaning After Boiling

Removal of Residual Tissues:
- Post-Boiling Inspection: After the boiling process, carefully remove the skull from the water. Inspect it for any remaining soft tissues.
- Scraping and Brushing: Using brushes and dental tools, gently scrape and brush away any loosened tissues. Be thorough, as this step ensures a clean and polished finish.
Role of Hydrogen Peroxide in Skull Whitening:
- Whitening Bath: Submerge the cleaned skull in a solution of hydrogen peroxide to whiten and further disinfect it. As mentioned earlier, this process can take from 24 hours to several days, depending on the desired level of whitening.
- Sun Exposure: Place the skull in direct sunlight to enhance the whitening effect. Sunlight not only aids in whitening but also helps eliminate any lingering odors.
Guidance on Using Brushes and Dental Tools for Detailing:
- Detailing: Use small brushes and dental tools to access and clean hard-to-reach areas, such as the nasal cavity and small crevices around the skull’s base. Pay attention to detail, as this enhances the overall presentation.
By following these steps meticulously, you’ll ensure that your pot boiling process for deer skulls is both effective and safe, resulting in a beautifully cleaned and preserved skull ready for decoration or display.
Conclusion: Pot for Boiling Deer Skulls
In the realm of hunting, preservation, and artistry, the use of a pot for boiling deer skulls is a time-honored technique that seamlessly merges practicality with creativity. Throughout this guide, we’ve explored the fascinating process of transforming raw deer skulls into stunning works of art, trophies, or distinctive decor pieces.
From the inherent beauty of deer skulls to the practical advantages of preservation, we’ve uncovered the allure of this craft. With the right supplies and safety precautions in place, you’re prepared to embark on your journey of skull transformation.
Our comprehensive outline of the pot boiling process, from initial cleaning to meticulous detailing, ensures the optimal preservation and enhancement of deer skulls. It’s a journey that marries preservation with artistic expression, offering endless possibilities for those seeking to capture the essence of these majestic creatures.
Whether you’re a seasoned hunter showcasing your trophies, an artist seeking inspiration, or an enthusiast drawn to the beauty of deer skulls, pot boiling is a craft that beckons. As you venture into this world, remember that patience, care, and creativity are your keys to success. May your endeavors with a pot for boiling deer skulls be both fulfilling and artistically rewarding.